This is my take on making a reversing ring for high quality macro photography on the cheap. It is based on an old UV filter and a small M42 extension tube segment.
I'm using an extension tube instead of the more custom method of using an old body cap because
- I did not have an M42 body cap and
- the extension tube is made of metal, whereas pretty much all body caps are plastic -- this is a plus!
Full details and a tad of theory after the jump.
Why use a reversing ring?
If you know the 'theory' behind a reverse ring, or just want to see how you can make one, then you can skip to the section below. If you are interested in why you might need a reversal ring, then read on :-).
Lenses are designed to operate in a specific 'focus regime'. Usually from the order of a meter up to infinity. Within this regime, the lens reaches its optimal sharpness and minimizes its distortions and aberrations.
Extension tubes, macro bellows or any other means of placing the lens further away from the body, allow one to focus on objects much closer to the lens. This results in magnifications that are far greater than could be achieved otherwise. However, this means that the light follows an optical path that the lens was
not designed for! The results are often a loss of sharpness and an exaggeration of optical distortions and aberrations of the lens.
We need to keep the light path 'within specifications' of the lens to reach optimum performance. An easy trick to achieve this while still maintaining the possibility to focus on objects close to the lens, is simply to reverse the lens!
As you can see from the above drawing, reversing the lens means that, when photographing something small (eg a bee), the light rays pass through the lens in the same way as they would when the lens is used in the normal way (eg when taking a picture of a tree). Sure, they travel through the lens in the
opposite direction, but -- thankfully -- physics could not care less.
Note that, following the above argument, one finds that the
more extension tubes you stack between the body and the lens (and thus the higher the magnification), the more you approach the optimal, normal light path (in reverse). Indeed, if you take a picture of a tree that is a couple of meters away from the lens, you would need a couple of meters(!) of extension tubes to mimic that situation.
In order to just be 'in spec' with the lens, you would need a minimum extension equal to the minimum (normal) focus distance of your lens. The lens-to-subject distance will then be approximately equal to the flange distance between the back of your lens and the film/sensor, when used in the normal way.
Now, this amount of extension often leads to
very high magnifications that are rather impractical to use. Besides, at those magnifications, you begin to bump into the wave like nature of light. Diffraction usually goes through the roof, and sharpness down the drain. So, most of the time, you will still be using the lens in a regime that is still just a tad out of its specifications (unless it was a close-focus macro lens to begin with).
Nevertheless, it's still worth it to see if reversing your lens won't improve the optical quality!
In general, if you want to achieve a magnification greater then 1:1, you want to reverse your lens.
OK! Just build the damn thing already!
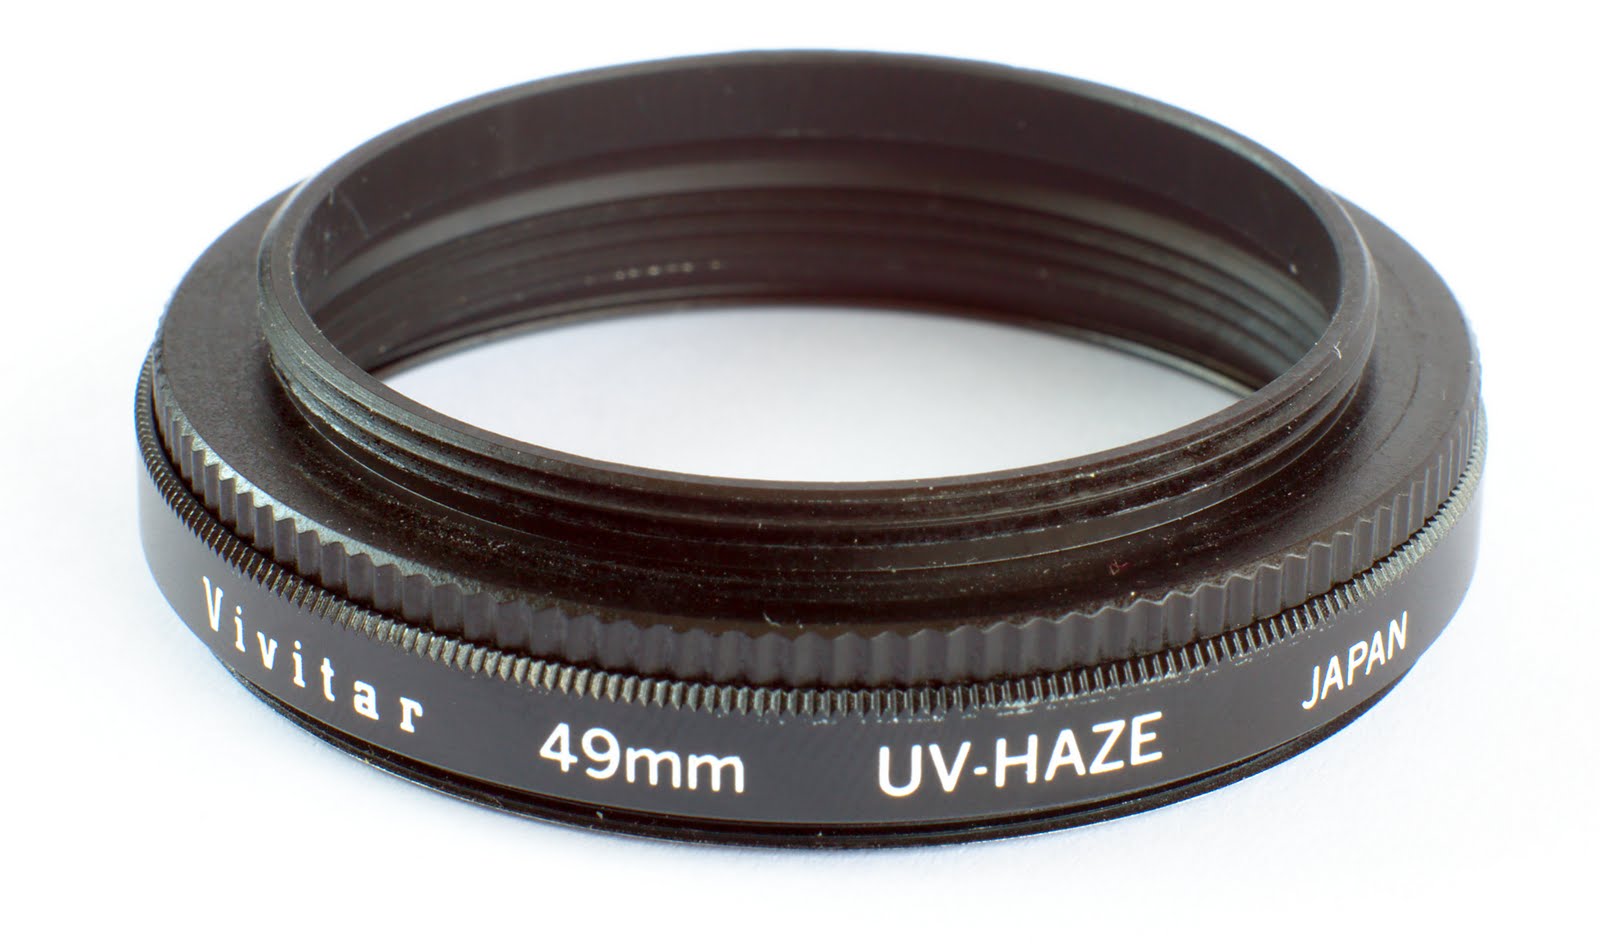
As I said in the introduction, I used an old 49mm UV filter and a small M42 extension tube. Of course, if you want to build this yourself, you need to pick a filter size that will fit on the lens you want to reverse mount. I will be using an old M42 Helios 44-2 58mm f/2 lens. It will be mounted in reverse on a set of M42 extension tubes which attach to my Canon 500D through an EOS to M42 adapter.
Below is a picture of the filter and extension tube that will get 'sacrificed'.
The first step is removing the glass from the UV filter. You can probably use a hammer, or you can just unscrew the retaining (plastic) ring that holds the glass in place. It has two diametrical slots that fit a lens wrench. Not having a lens wrench, I used a caliper (
note this may ruin the accuracy of your caliper, you should not do this with a good caliper!).
I noticed that the extension tube would
almost fit in the outer ring of the filter. Here you can see them on top of each other:
The next step is, of course, to
make them fit together! Bring out the file and start working that thing! Both rings seemed to be made out of aluminium, so it wasn't too hard to work it. The result:
Perfect fit:
The final step is making this fit final. I used super glue. You can also use epoxy (probably even better) or any other
strong glue. Remember that your lens will be dangling from this piece! Better be safe!
Make sure you glue it completely flush, so the focal plane won't be slanted. After the glue sets, this is what I got:
On the top of the above photo, you can see the male M42 mount. This will screw into the extension tubes on the body. The 49mm filter thread is laying down. In the picture below, you can see it in more detail on the right.
That's it! Now to try it out!
Preliminary results
I attached the reversing ring to my Helios 44-2 58mm f/2 and mounted it on a modest set of extension tubes (total extension of 40mm), as can be seen below:
I went hunting around for bugs and could get a shot of this bumble bee: (click for full resolution version and shot details, hosted on deviantART)
Epilogue
Some very quick tests of reversed versus normal orientation of the lens at modest magnification have not really shown major changes in sharpness yet. I'm planning to do some
proper in-depth tests on the effect of reversing the lens at various magnifications soon. I expect the reversed lens to score better, especially at higher magnifications.


No comments:
Post a Comment